Student-to-student connection is important and achievable when teaching online. Here are some ways you can do groupwork online:
- Use Zoom Breakout Rooms. Zoom breakout rooms lets you break your students into smaller sub-rooms. You can have Zoom break your students into rooms automatically or you can do it manually. Breakout rooms are great for short and long discussions -- you can give your students a short prompt to discuss and break them into breakout rooms for 5 minutes or you can have them work on an assignment or problem together for longer. You can ask one student in each breakout room to share their screen and take notes to report back.
- Use Canvas Groups. Canvas Groups allows you to group your students into Groups in Canvas, which then gives each group their own space to share their files and the ability to make discussion posts only groupmates and the teaching staff can see. This is especially helpful for more long-term group projects where students will be iterating on and updating their work.
- Be Mindful of Time. Meeting up with classmates outside of class time is harder to do when you’re a part-time student who may not be local. Save time during class for your students to work with their groups in Zoom breakout rooms or give them plenty of time to communicate with each other via Canvas Groups.
- Use a Group Charter. Group charters are a great way for your students to establish expectations with each other when they begin working on a longer-term group project together. You can ask them to fill it out during their first meeting together and submit it. The conversation the students have while filling out the charter will help surface assumptions and expectations, as well as give everyone a document to refer to if group tensions arise. You can view and download this sample group charter here.
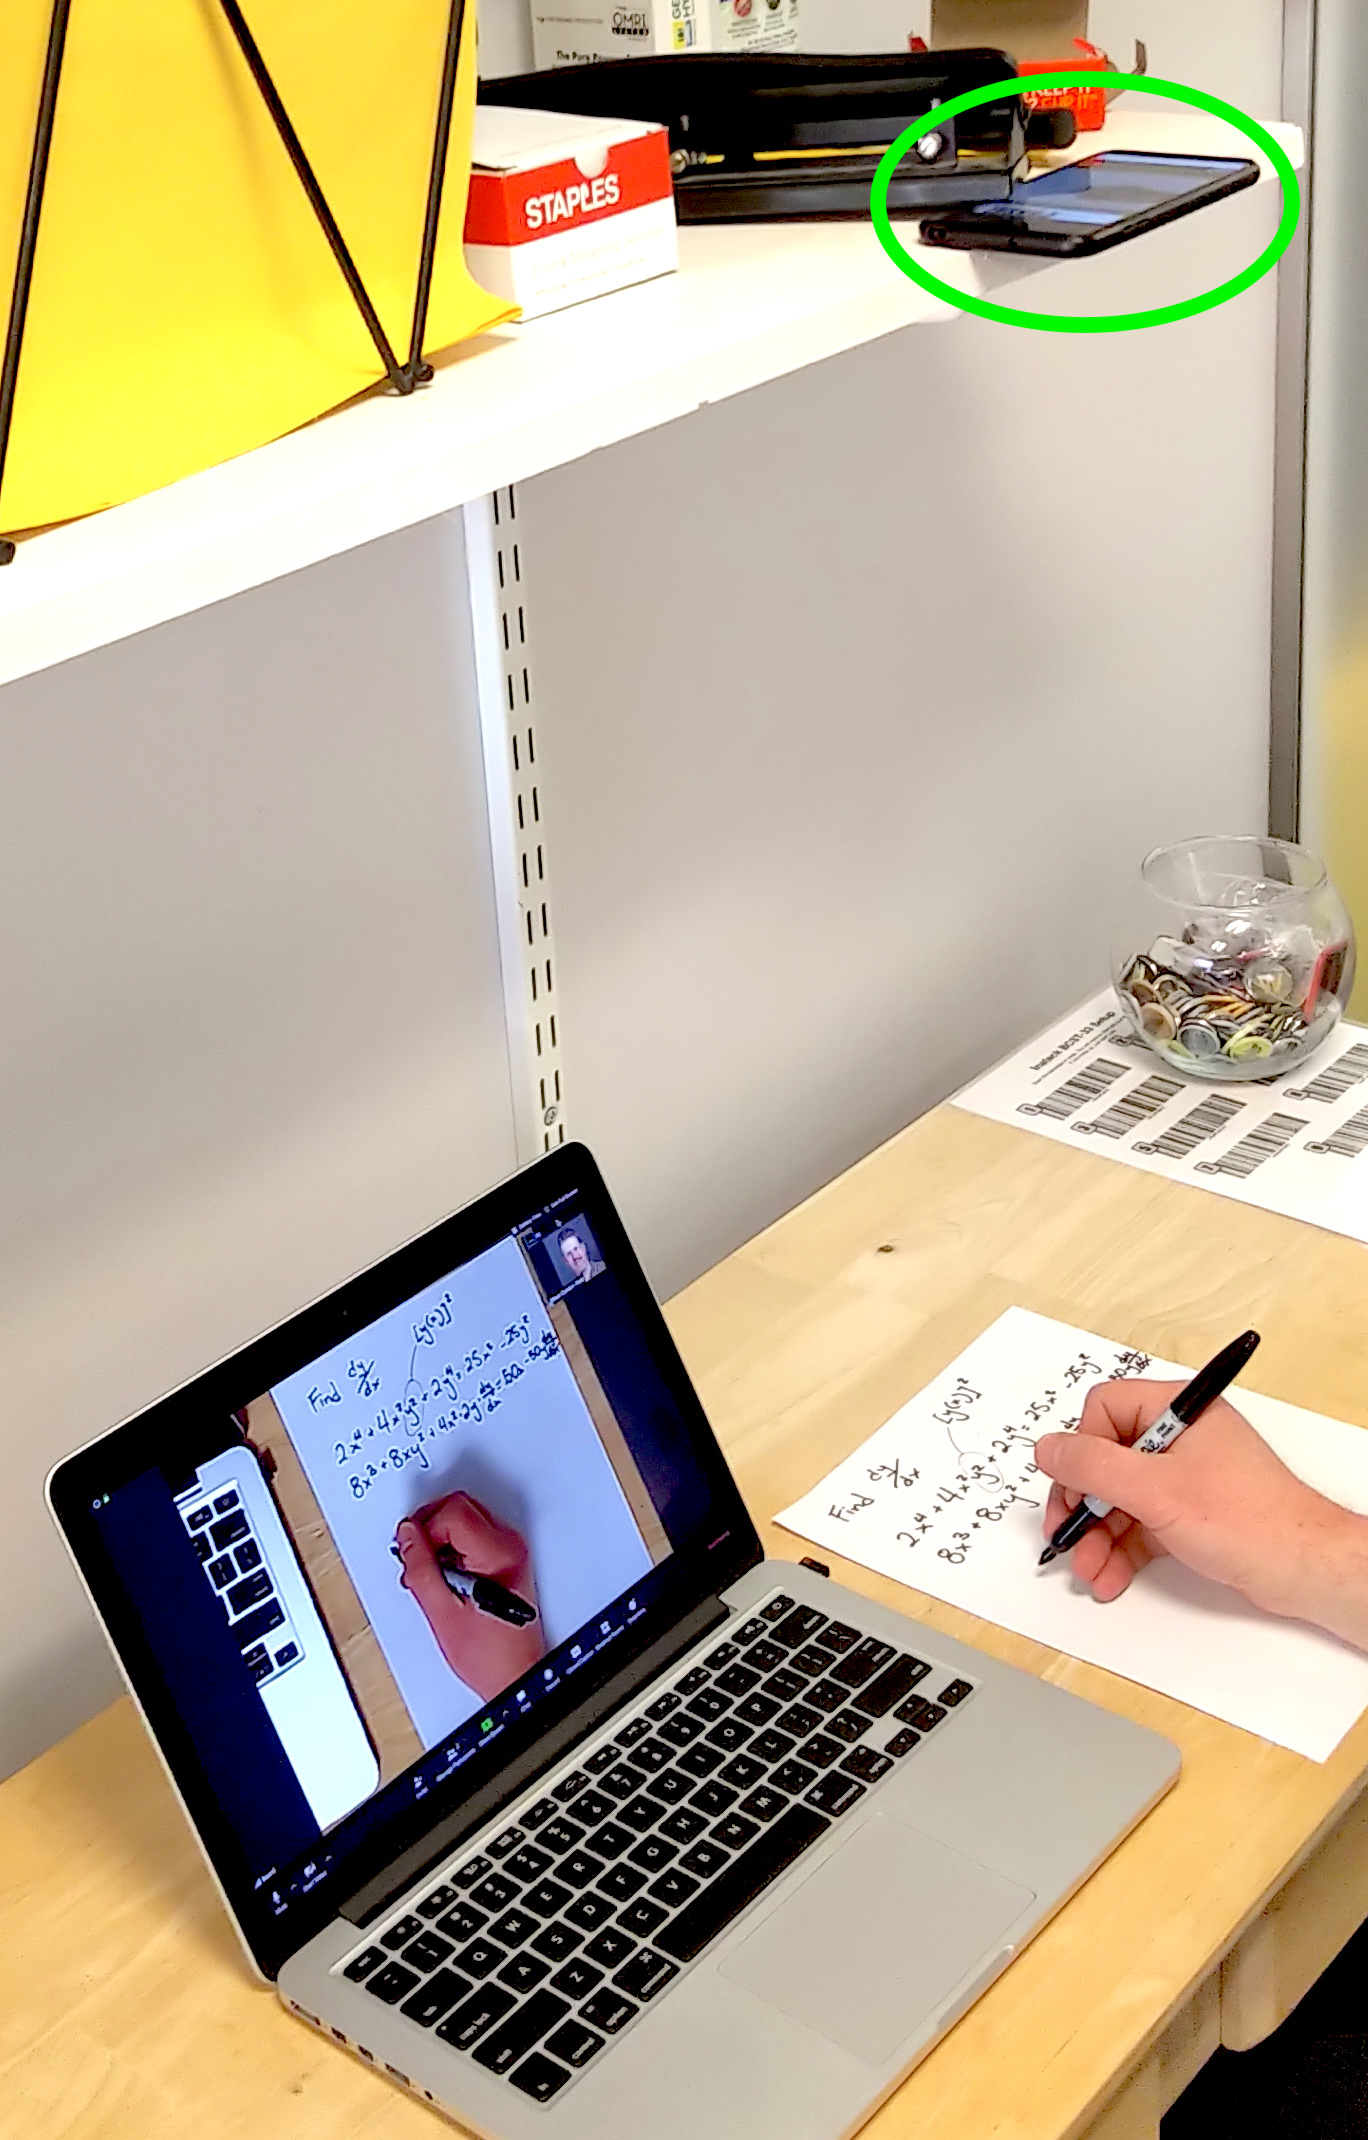
 Phone as document camera,
Here are the top 5 ways to do chalkboard/whiteboard work via Zoom web conference. No matter which you choose, we strongly recommend doing and recording a test run and viewing the recorded video to see if the writing is visible enough for students.
1. Use your own whiteboard. If you have a whiteboard or something similar at home, this is the closest you’ll get to the classroom experience. If you don’t have one, you can buy rolls of dry-erase film that unrolls, cuts, and self-sticks to a wall like plastic wrap or a post-it. Self-sticking easel pad paper works but can be more expensive. For best results, use a wireless/Bluetooth headset instead of your computer mic and speakers, a high-definition free-standing web camera (not your computer’s built-in camera) zoomed in to the whiteboard, and use a thick marker. For planned lecture/board work, you can pre-record the video and play it back during lecture.
2. Use marker and paper, and a document camera. Join the class session with your phone, tablet, or movable web camera and log it in as “Whiteboard”. Place it on a shelf, stand, or tripod pointing down towards a piece of paper you can write on. You may need to hold your device in place with a heavy book. Zoom the camera in so the paper fills the screen. (See image on this page.) Write with a Sharpie or other marker thick enough to be visible, but thin enough to write at this scale.
3. Type out examples in advance. Using LaTeX or other symbolic editor, type out the solutions to your example problems before class. Use the settings in your presentation software (e.g. PowerPoint) to reveal the text in stages.


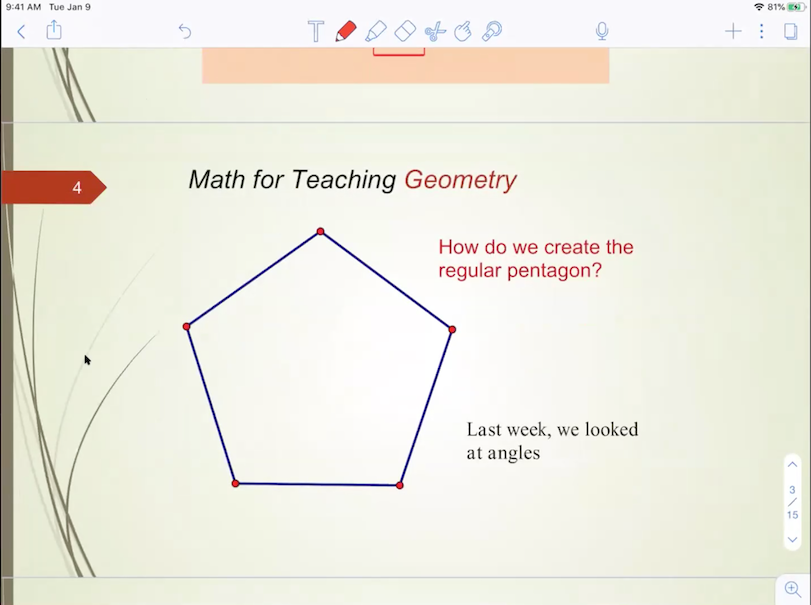
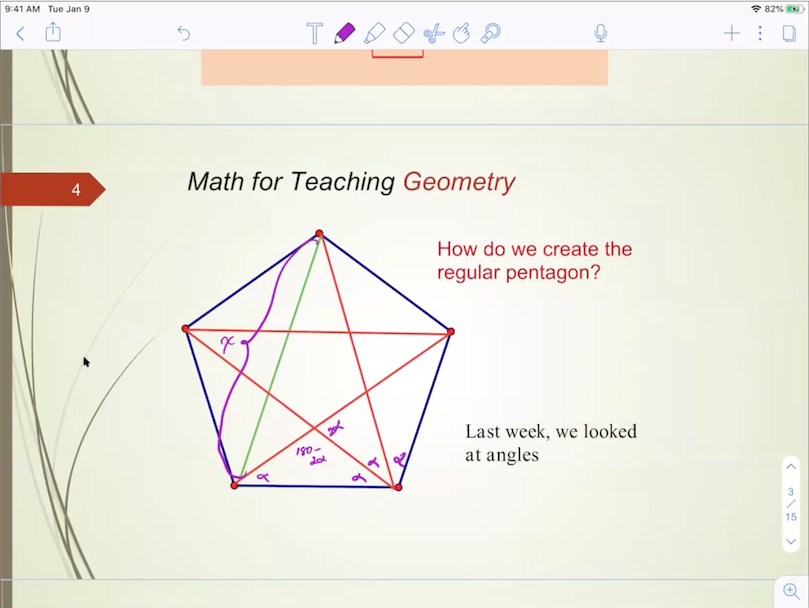
Slide without and then with Notability markup done live during class.
4. Use electronic handwriting tools. Zoom has a “whiteboard” feature and a set of annotation tools. Some instructors use third-party apps like Notability that let you mark up your slides. These options seamlessly integrate into your meeting, but can be challenging to use without practice. Using a computer touchpad or mouse to write legibly can be difficult. Instructors who use and electronic whiteboard regularly use a tablet and stylus for writing, and connect their device to the web conference separately from their computer. If you have a preferred free-drawing app your device, you can share your screen using that instead of the native web conference whiteboard.
5. Ask Teaching Assistants for support. It may feel like too much to manage these new options while doing your regular teaching. If you have a TA/TF, they may be able to set up one of these options and do the writing while you do the talking.
Other Resources
The following resources are examples for illustrative purposes only; DCE does not necessarily endorse the specific products or vendors shown.