1. Confirm computer meets or exceeds baseline computer requirements for teaching online at Harvard Division of Continuing Education.
Computer minimum specifications: Windows
2GHz Intel Core™ Duo or faster processor, 8GB RAM
Windows 11 and higher
Up-to-date Web Browser: Chrome, Firefox, Internet Explorer, Edge
Computer minimum specifications: Macintosh
2GHz Intel Core™ Duo or faster processor, 8GB RAM
macOS 14 and higher
Up-to-date Web Browser: Chrome, Firefox, Safari
20 Mbs for upload and download is the recommended network speed. 5 Mbs for upload and download, is the network speed requirement.
2. Ensure you aware of and implement best practices:
Test your network speed ahead of your recording at speedof.me
Use an ethernet cable if possible. Adapters may be needed.
Open only the programs and tabs needed for the recording.
Keep Zoom and your Browser of choice up to date. Chrome and Firefox recommended.
If you have a second monitor, your video and audio quality may increase if you disconnect the cable from the device entirely before recording
A restart a day keeps IT away! Be sure to restart your device before recording.
3. Determine where you will record and set up accordingly.


4. Log into Zoom at https://harvard.zoom.us/
Open the Zoom app on your desktop, make sure that it is up-to-date and enter your login credentials again.
On the https://harvard.zoom.us/ website go to the “Settings” tab.
Select the “Meeting” button and then the “In Meeting (Advanced)” tab.
Make sure “Meeting-HD Video Quality” is turned ON and “Full HD (1080P)” is selected.
Be careful to reset your settings after recording to your preferred settings for class.
A.![]()
B.")
C.
5. Go to the “Recording” tab from the top of the page, replicate the settings below and select “Save” at the bottom of the checkboxes.


6. If publishing in Gather through Canvas, be sure to record from your Class or Section meeting. There you will find the Camera on Paper icon to publish to Gather.

Otherwise, start an “Instant Meeting”, by selecting Host at https://harvard.zoom.us/ or the orange “New Meeting” button in the Zoom Client.


7. Open your “Preferences” / ”Settings” Panel in the Zoom Desktop App.
Select the small arrow next to the Camera icon.
Select “Video Settings…” to open the “Preferences” / ”Settings” Panel.

8. Select your “Preferences” / ”Settings” in the Zoom Desktop App as shown below. If you are unable to see any of the settings listed, please go to https://harvard.zoom.us/ to turn on the correct Meeting Settings. Be aware that some may be hardware dependent and appear greyed out
Audio tab:
Select “Test Mic and Test Speaker” to make sure your inputs and outputs are set correctly. If “Enable stereo” appears as an option, we recommend that you leave it unchecked as it may not convert from a Mono single source input properly.
Adjust your input and output volumnes and devices accordingly.


Audio tab (Advanced):

Video tab:

If you have a green screen for a virtual background, you can scroll down to enable this for improved quality. Auto framing may reduce video quality, instead try framing your face within center using the rule of thirds.

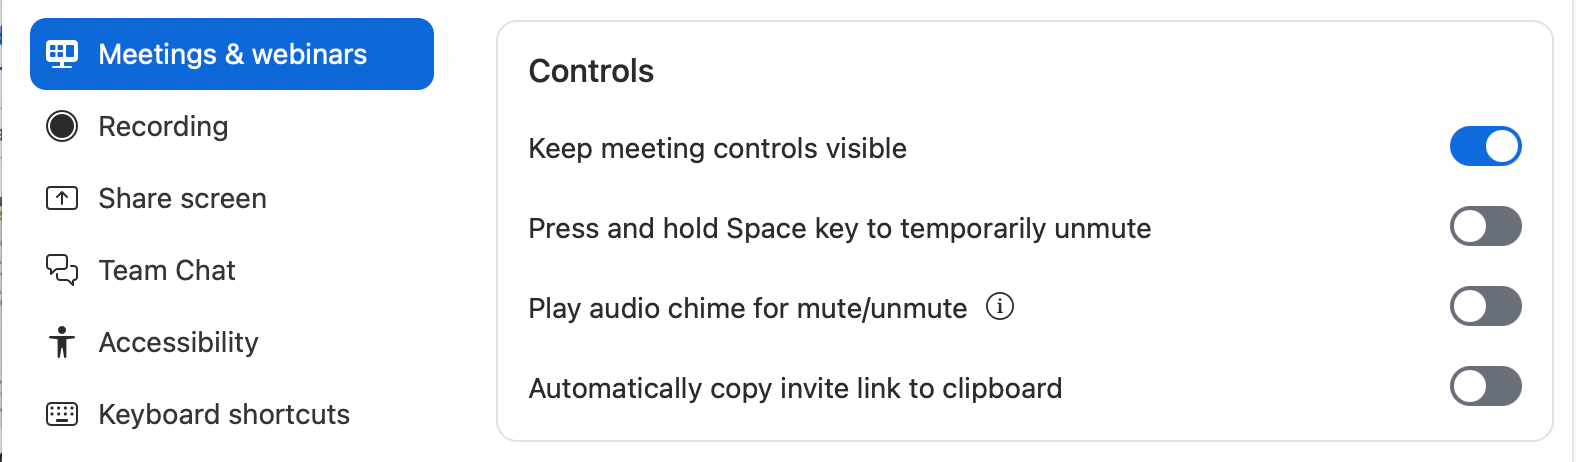
Meetings & webinars tab:
 Meetings & webinars tab (Advanced):
 Meetings & webinars tab (Advanced):
9. Select “Record to Cloud”. Make sure that it is NOT recording locally.
Leave a few seconds of silence at the beginning and end of your recording.
Be prepared to record multiple takes.

10. The cloud recording will not process until you “End the Meeting”.
You can view your recordings by going to https://harvard.zoom.us/recording. You should also receive an automated email once it is processed. If publishing in Gather, be sure to record from your Class or Section meeting.
11. Have a great semester!
You are welcome to reach out to webconference@dce.harvard.edu to review and/or offer personalized production related notes!